
Hello everyone! I hope you had a great weekend!
I mentioned to you guys in this post that I wanted to create a Cricut Station with more work room and better organization for my vinyl and tools. Well, Saturday afternoon, that’s just what I did!
I moved my old desk (this was my desk for 20+ years at my parents house!) that was in our back bedroom as home to our growing Goodwill pile, into the front bedroom that we use as a guest bedroom. I swapped the desk with a dresser, and moved the bed from directly under the window to along the back wall. I moved most of the furniture by myself because I was so determined (and too impatient to wait for Justin to get home!), and I swear I must’ve sweat just as much doing that as I did earlier that day during my workout!
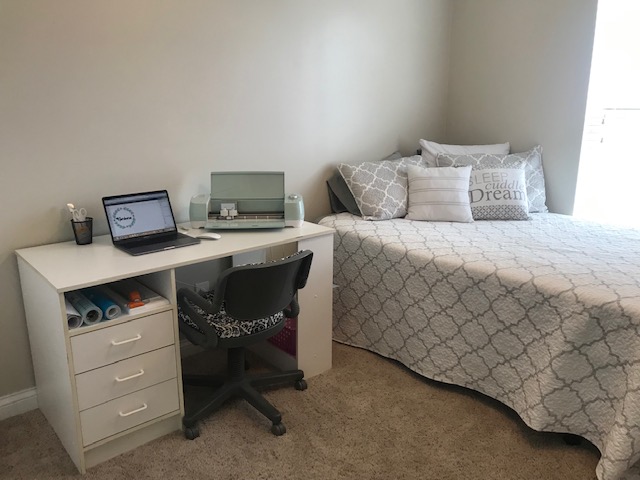
Once I got the furniture set up, I got down to cleaning. I cleaned every inch of that white desk (do you have any idea how filthy furniture gets!?) and then lined the drawers with gray shelf liner so the vinyl wouldn’t be sliding around all over the place.
I organized each drawer with vinyl, categorized by color.
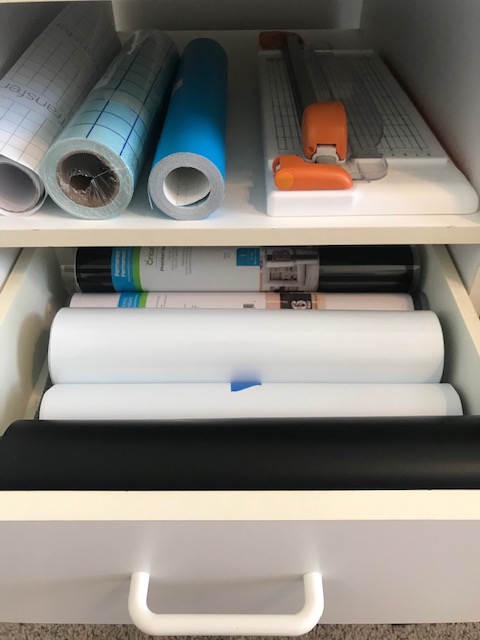
Drawer #1 holds white, black and gray vinyl (matte and shiny).
The space just above the drawers holds two rolls of transfer tape, a roll of stencil paper, and my Fiskars trimmer.

Drawer #2 is pinks, red, purple and yellow.
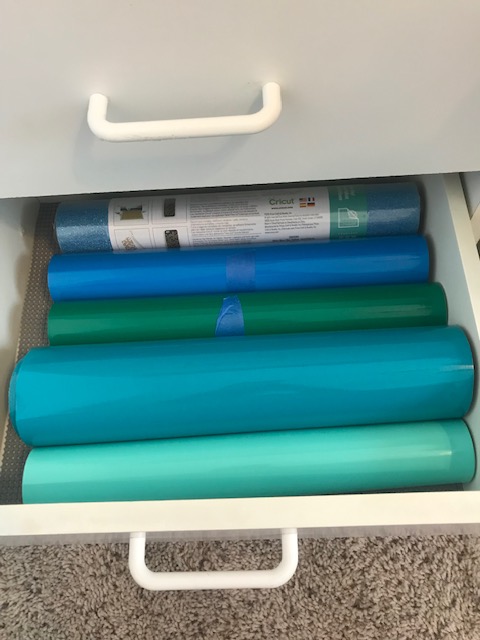
Drawer #3 is greens and blues.
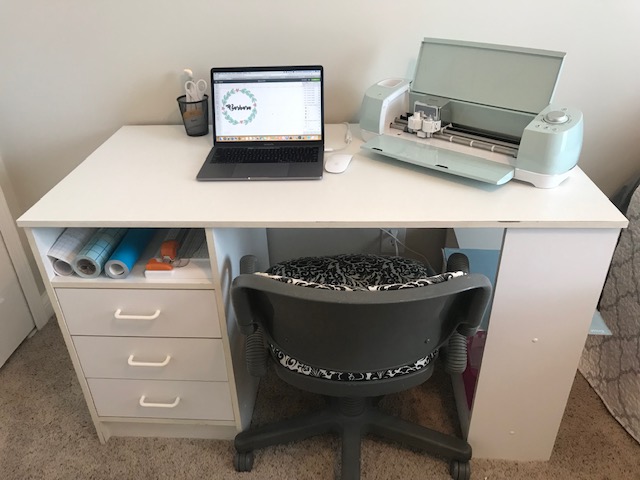
I put the Cricut tools in a pencil cup on top of the desk, and hooked up our Macbook to the Cricut machine.
Not pictured: I also placed a clear Command strip hanger on the left side of the desk to hang my cutting mats on! It’s so much more functional than having them on the shelf to the right, where really they didn’t fit!
On the shelf to the right is also a basket to hold scraps. If you are a fellow Cricut enthusiast, you know that you need much less vinyl than what you think you need, so it’s always great to have scraps on hand to keep you from always having to cut from the roll.
After I had everything set up and functional, you know I had to put my craft pants on and make something fun!
I recently bought this BruMate coozie that fits the thin beer/seltzer cans, and since the color was called “glitter mermaid” I thought it was only appropriate to make a mermaid graphic to put on it!

I also made a monogram graphic for my mom to put on a Yeti tumbler that she was giving my grandma as part of her (belated) Mother’s Day gift!

Overall, I am so happy with the way that my Cricut Station turned out, and the two projects I completed, as well.

4 thoughts on “Cricut Station”